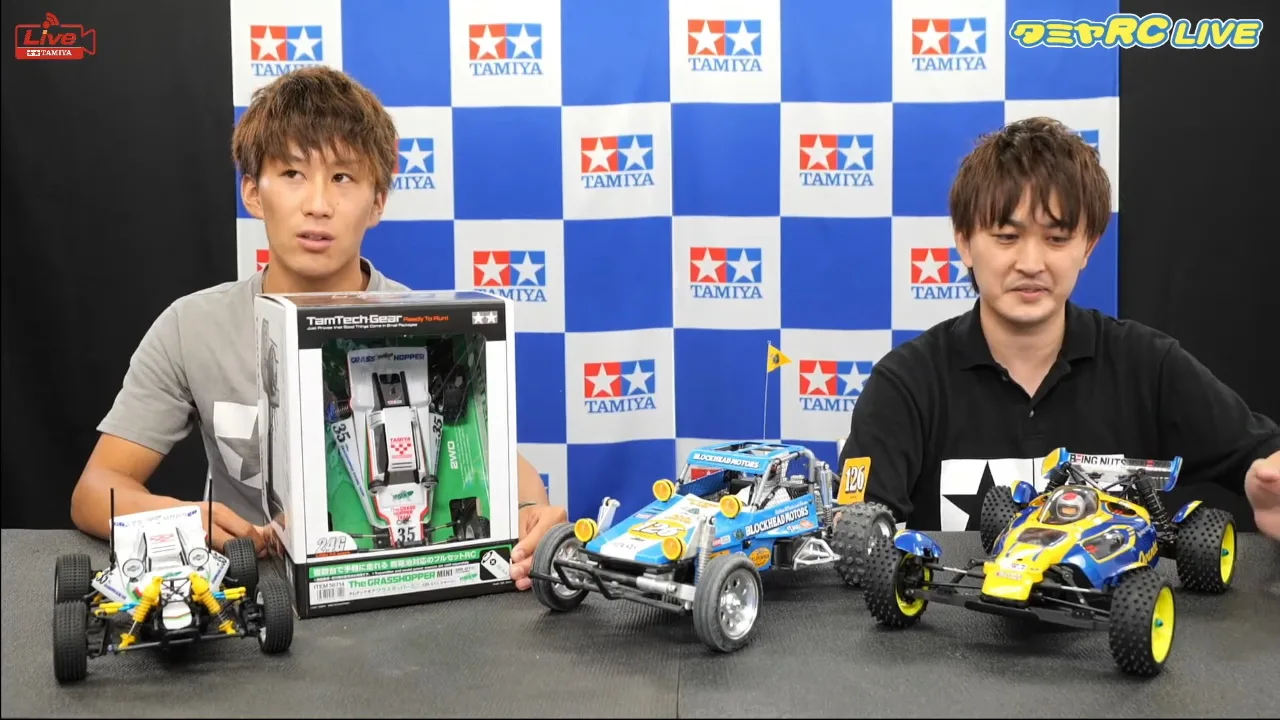
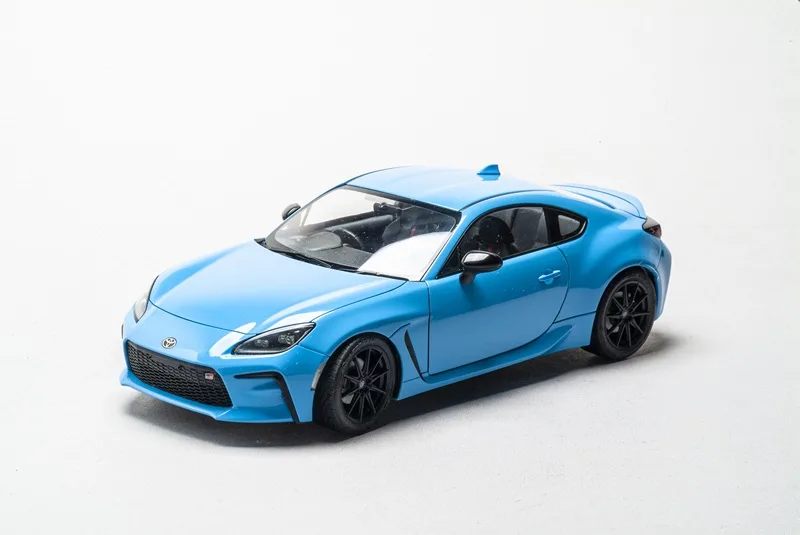
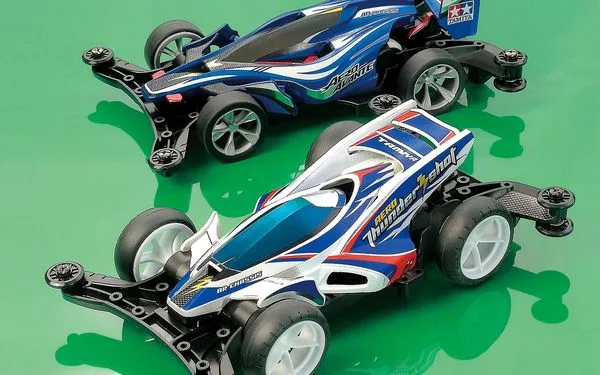
Dive into the exciting world of Tamiya car customization, where creativity knows no bounds! Whether you’re a seasoned hobbyist or just getting started, there’s something thrilling about transforming a standard Tamiya car into a personalized masterpiece. From choosing the right model to exploring popular techniques, you’ll find countless ideas to spark your imagination. Plus, the vibrant Tamiya community offers endless inspiration. Get ready to unleash your inner designer and embark on an unforgettable journey of customization!
Choosing the Right Tamiya Car for Customization
Selecting the perfect Tamiya car for your customization project sets the foundation for an exciting journey. Here are key factors to consider when making your choice:
-
Skill Level: Choose a model that matches your expertise. Beginners may prefer kits that offer straightforward assembly and fewer parts, while experts can tackle complex designs.
-
Purpose: Decide whether you want a realistic replica, a racing car, or an off-road vehicle. Each type serves different customization goals.
-
Availability of Parts: Ensure you can easily source spare parts and upgrade kits. Models with abundant aftermarket support allow for more extensive customization.
-
Community Favorites: Popular models often have abundant tutorials, forums, and community support.
Comparison Table of Popular Tamiya Car Models:
| Model Name | Skill Level | Purpose | Aftermarket Parts |
|---|---|---|---|
| Tamiya Grasshopper | Beginner | Off-road/Play | High |
| Tamiya TT-02 | Intermediate | Racing | Very High |
| Tamiya Blitzer Beetle | Advanced | Off-road/Racing | Moderate |
By carefully considering these factors, you’ll find a Tamiya car that inspires your creativity and enhances your customization experience!

Essential Tools and Materials for Your Project
Embarking on a Tamiya car customization journey is exciting, and having the right tools and materials makes all the difference. Here’s a handy list to help you get started:
Tools You’ll Need:
- Screwdrivers: Phillips and flat-head for assembling and disassembling your Tamiya car.
- Cutting Tools: A hobby knife or scissors for detailed cuts.
- Pliers: Needle-nose pliers are great for gripping small parts.
- Paintbrushes: Various sizes for smooth application of paint.
- Airbrush Set: For a professional finish on your Tamiya car.
Essential Materials:
- Paints: Choose high-quality acrylic or enamel paints that suit your desired finish.
- Decals: Customize your model with unique designs and patterns.
- Adhesives: Use cyanoacrylate or plastic cement for strong bonds.
- Clear Coats: To protect your paint and give it a glossy surface.
Quick Comparison:
| Tool/Material | Purpose |
|---|---|
| Hobby Knife | Precise cutting |
| Airbrush | Smooth, even paint application |
| Clear Coat | Protects and enhances finish |
With these essential tools and materials, you’re ready to dive into customizing your Tamiya car!
Popular Customization Techniques for Tamiya Cars
Customizing your Tamiya car can be incredibly rewarding! Here are some popular techniques that hobbyists love to explore:
-
Painting and Finishing: Use high-quality paints to give your Tamiya car a unique look. Remember to:
- Sand the surface for better paint adhesion.
- Apply multiple thin coats for a smooth finish.
-
Upgrading Performance Parts: Enhance your car’s performance by swapping out standard parts. Consider upgrading:
- Motors for increased speed.
- Batteries for longer run times.
-
Body Modification: Personalize your Tamiya car by modifying the body:
- Add an aftermarket wing for a sporty look.
- Use decals and stickers for eye-catching designs.
-
Detailing and Accessories: Fine details make a difference!
- Add realistic headlights and taillights.
- Incorporate scale accessories like driver figures and pit crew tools.
-
Chassis Customization: Don’t forget about the base!
- Low-profile chassis can improve handling.
- Explore different wheel types for improved aesthetics.
By experimenting with these techniques, you’ll create a Tamiya car that truly stands out, reflecting your personality and creativity!
Inspiration from the Tamiya Community
The Tamiya community is a treasure trove of creativity and inspiration. From forums to social media groups, enthusiasts share their incredible Tamiya car projects that can spark your imagination. Here are a few sources of inspiration:
-
Online Forums: Join dedicated Tamiya forums where members showcase their customized cars. You’ll find everything from paint jobs to intricate detailing.
-
Social Media Hashtags: Search for hashtags like #TamiyaCar and #TamiyaCustomization on platforms like Instagram and Twitter. There you can explore a vast array of designs and techniques.
-
YouTube Channels: Numerous content creators focus on Tamiya cars, offering tutorials, build diaries, and showcases of their unique projects. Watching these can help you learn about advanced customization methods.
-
Local Clubs: Consider joining a local Tamiya car club. Engaging face-to-face with fellow enthusiasts can provide hands-on advice and immediate feedback.
By delving into the Tamiya community, you can gather insights and innovative ideas that will enhance your own customization journey. Start exploring today, and let your creativity flow!

Step-by-Step Guide to Your First Custom Project
Embarking on your first Tamiya car customization project can be an exhilarating experience! Follow these simple steps to ensure your project runs smoothly:
-
Pick Your Tamiya Car: Choose a model that ignites your creativity. Popular options include the Tamiya TT-02 and the Tamiya Grasshopper.
-
Gather Your Supplies: You’ll need:
- Basic tools (screwdriver, pliers, etc.)
- Paints (acrylic or spray)
- Custom decals
- Brushes and masking tape
-
Plan Your Design: Sketch out your modifications. Consider factors like color schemes, decals, and additional features (lights, spoilers).
-
Disassemble Carefully: Use your tools to gently take apart the Tamiya car. Organize screws and parts to avoid losing anything.
-
Paint and Customize: Apply your chosen paint and let it dry. Add decals and any other custom features you’ve planned.
-
Reassemble Your Tamiya Car: Once everything is dry, carefully put your car back together.
-
Test Run: Finally, take your newly customized Tamiya car for a spin! Enjoy the fruits of your labor and be proud of your creation!
With this guide, you’re well on your way to crafting a unique Tamiya car that’ll capture everyone’s attention. Happy customizing!
Showcasing and Sharing Your Custom Creations
Once you’ve put your heart and soul into customizing your Tamiya car, it’s time to show it off to the world! Sharing your creations can not only garner appreciation but also inspire fellow enthusiasts. Here are some effective ways to showcase your customized Tamiya car:
-
Social Media: Utilize platforms like Instagram, Facebook, and TikTok. Share high-quality images and videos of your Tamiya car. Use relevant hashtags, such as #TamiyaCar, to reach a wider audience.
-
Join Online Forums: Participate in Tamiya car forums or groups dedicated to RC enthusiasts. Posting your project in these communities invites feedback and tips.
-
Local Clubs and Events: Attend local hobby clubs or RC races. Bring your Tamiya car to share with other collectors. Engaging with other hobbyists can provide valuable insights and connections.
-
Create a Blog or Vlog: Document your customization process through a blog or YouTube channel. This allows you to share step-by-step guides alongside your final design.
-
Photography: Invest time in capturing your Tamiya car in stunning settings. Great visuals can attract more attention and appreciation.
By sharing your journey, you not only celebrate your creativity but also connect with a vibrant community of Tamiya car enthusiasts!
Frequently Asked Questions
What are some popular customization ideas for Tamiya car projects?
When it comes to customizing Tamiya car projects, the possibilities are endless! Popular ideas include painting with unique color schemes, adding custom decals, or even modifying the chassis for enhanced performance. You might also consider upgrading the wheels and suspension to improve handling. Some enthusiasts love adding LED lights for a more dynamic appearance, while others focus on interior detailing, including custom driver figures or dashboard designs. The key is to let your creativity shine!
Do I need special tools for customizing my Tamiya car?
Yes, customizing your Tamiya car can require a variety of tools to get the best results! Essential tools include hobby knives for cutting parts, tweezers for handling small pieces, and a good set of paints and brushes for applying color. Additionally, having an airbrush can help achieve a professional finish. You may also want some sandpaper for smoothing edges and a small screwdriver set for assembling and disassembling the car. Investing in quality tools can make your customization projects easier and more enjoyable!
How can I find inspiration for my Tamiya car customization?
Finding inspiration for Tamiya car customization can be a fun adventure! Start by exploring online communities and forums dedicated to Tamiya projects where you can see what others have created. Social media platforms like Instagram and Pinterest are also great for discovering unique designs and techniques. Additionally, consider attending hobby shows and exhibitions where you can witness stunning models up close. Be sure to keep an eye on car culture, racing teams, or even movies for design ideas that resonate with you!
Are there any specific paints or materials recommended for Tamiya car customization?
Absolutely! When customizing your Tamiya car, using high-quality paints will make a significant difference in the final look. Tamiya’s own line of acrylic and lacquer paints are popular choices due to their excellent coverage and vibrant colors. Additionally, spray paints can offer a smooth finish for larger surfaces. Don’t forget to use a primer to ensure the paint adheres well! For materials, look into using modeling putty for filling gaps and styrene sheets for creating custom parts or details.
